Is your heater not turning on when you need it the most? A malfunctioning heating system can be frustrating and uncomfortable. This troubleshooting guide will help you identify and address common issues like checking your thermostat settings, inspecting the power source, and verifying the gas supply. By following these quick fixes, you can potentially restore heat to your home and ensure your gas furnace operates smoothly without needing a professional call right away. Understanding how to check for debris in the combustion chamber and the valve settings can save time and hassle during colder months.
Key Takeaways
- Check thermostat settings to ensure it’s set to “Heat” for effective heating
- Replace batteries in battery-operated thermostats to maintain optimal functionality
- Regularly inspect and clean air filters to enhance heating efficiency and performance
- Confirm gas supply is active to avoid heater malfunctions in fuel-based systems
- Inspect electrical components and ductwork for blockages or damage to ensure proper airflow
Check Your Thermostat Settings
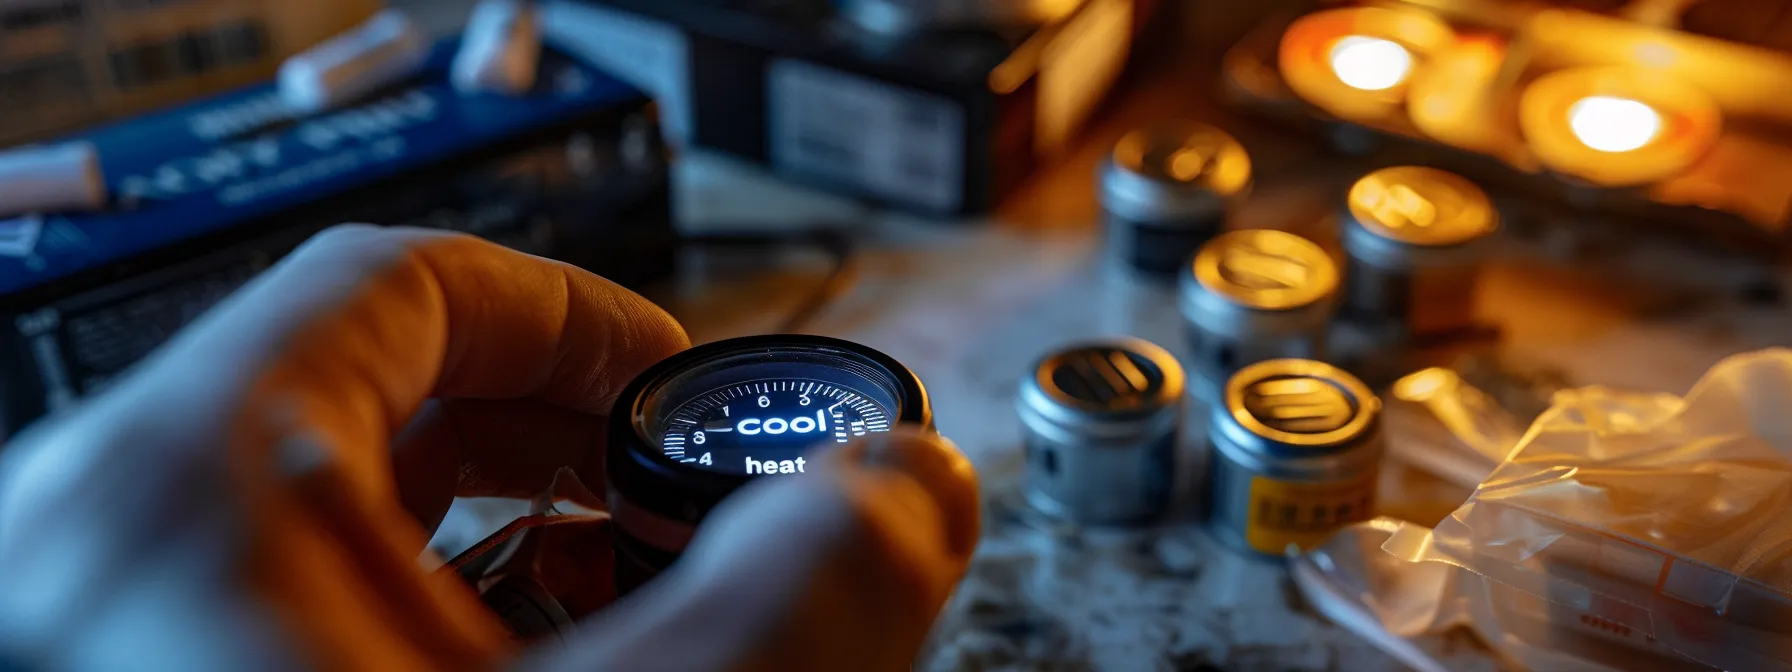
Check Your Thermostat Settings
To ensure that a furnace turns on, homeowners should start by checking several thermostat settings. First, verify that the setting is on “Heat.” If the thermostat uses batteries, replacing low or dead batteries can make a significant difference. Next, adjust the temperature setting above the current room temperature and check the schedule for any programmable thermostat. These HVAC Services in DFW simple steps can optimize energy use and prevent freezing conditions in the home.
Ensure the Thermostat Is Set to "Heat"
When troubleshooting a heater that is not turning on, it is vital for homeowners to ensure the thermostat is set to “Heat.” If the thermostat is incorrectly set to “Cool,” it can result in cold air circulating through the heating unit, leading to discomfort during colder months. Additionally, if the thermostat has a limit switch or programmable features, double-checking these settings ensures that the heating system operates as intended, providing warm air when needed.
| Action | Details |
|---|---|
| Set Heat Mode | Ensure the thermostat is set to “Heat” to activate the heating unit. |
| Check Batteries | Replace batteries if the thermostat is battery-operated to maintain efficient performance. |
| Adjust Temperature | Raise the temperature setting above the current room temperature to trigger the heater. |
Replace Low or Dead Batteries
Replacing low or dead batteries in the thermostat is a straightforward yet crucial step for homeowners experiencing heater issues. A thermostat powered by batteries may stop functioning entirely if the energy source is depleted, which can lead to insufficient signals sent to the air handler regarding the heating request. This situation often becomes apparent during cold weather, where a lack of heating can result in discomfort and increase the risk of furnace repair due to added stress on the system, particularly if soot builds up in propane units as a result of inefficient operation.
- Check if the thermostat is battery-operated.
- Replace old or dead batteries with new ones.
- Confirm the thermostat‘s settings are correctly adjusted after replacing batteries.
Adjust the Temperature Setting Above Room Temperature
When troubleshooting why a furnace is not turning on, adjusting the temperature setting above the current room temperature is essential. This action sends a clear signal to the system to engage; a properly functioning system needs to recognize the request for heat. If the thermostat is still unresponsive after this adjustment, it may indicate further issues, such as a faulty furnace switch or complications with electrical wiring that an HVAC professional should address.
- Check the current temperature setting on the thermostat.
- Increase the setting above the room temperature to activate the furnace.
- If problems persist, consider consulting a qualified HVAC professional.
Verify the Programmable Thermostat Schedule
Homeowners should carefully check the programmable thermostat schedule to ensure it is configured correctly for heating needs. Often, incorrect settings can result in the heater not engaging during critical times. For instance, if the schedule is set to “away” mode during extreme cold weather, the baseboard heating system may remain inactive, leaving the home uncomfortable. Monitoring the schedule and making necessary adjustments can maximize the system’s efficiency, providing warmth when needed while preventing unnecessary energy consumption.
| Action | Details |
|---|---|
| Review Thermostat Schedule | Check if the heating schedule matches current occupancy and needs. |
| Adjust Settings | Correct any settings that may prevent the heater from activating. |
| Test Heating | After adjustments, ensure the heater engages to confirm proper functionality. |
If the thermostat settings check out, turn your eyes to the source of power. It may hold the key to your unit’s struggles, and understanding it could save you from the heat.
Inspect the Power Source
Confirming that the heater is receiving adequate power is essential for troubleshooting when it fails to turn on. Homeowners should check if the unit is plugged in properly, reset any tripped circuit breakers, and look for blown fuses. Additionally, inspecting wiring connections for any loose or damaged points ensures that the voltage reaches the heat pump or combustion system, facilitating efficient ventilation and operation.
Confirm the Heater Is Plugged in Properly
Confirming that the heater is plugged in properly is a fundamental step when troubleshooting why it might not be functioning. Homeowners should check the electrical outlet for any signs of damage or wear and ensure the plug is securely connected. If the heater remains unresponsive, it could indicate deeper electrical issues, such as a malfunctioning capacitor or a blown fuse, which may require professional attention to avoid further complications like gas leaks or pilot light failures.
Reset Tripped Circuit Breakers
Resetting tripped circuit breakers is an essential step for homeowners facing heating system failures. A circuit breaker can trip due to overloaded circuits or a malfunctioning heating element, which interrupts power to the furnace or smart thermostat. If the heating system does not respond after these checks, it could indicate deeper issues, such as a faulty thermostat or wiring that needs professional inspection.
| Action | Details |
|---|---|
| Locate Circuit Breaker Panel | Find the circuit breaker or fuse box in your home. |
| Identify Tripped Breakers | Look for breakers in the OFF position or showing a red indicator. |
| Reset Breakers | Safely toggle the breaker back to the ON position. |
Look for Blown Fuses
When a heater fails to turn on, one of the essential steps is to look for blown fuses. Central heating systems often rely on fuses to protect sensitive components such as the heat exchanger and safety sensors from high voltage surges. If a fuse has blown, it interrupts the power supply, preventing the heater from operating. The replacement of blown fuses can restore functionality, ensuring that the heating system works effectively and safely for the home’s comfort.
Check for Loose or Damaged Wiring Connections
Checking for loose or damaged wiring connections is a crucial step in troubleshooting a heater that has ceased to function. Loose connections can disrupt the vital communication between the thermostat and the heating unit, leading homeowners to wonder why their heater stops working. Dust accumulation on wiring can further exacerbate problems, affecting indoor air quality and increasing the risk of electrical failures. A thorough inspection of all wiring points will help ensure a safe and effective heating operation:
- Inspect all accessible wiring for signs of wear or damage.
- Ensure connections are tight and secure to maintain electrical flow.
- Look for dust or debris that may hinder electrical connections.
With the power source checked, the next step waits. Air filters can disguise trouble, and their condition matters more than one might think.
Examine the Air Filters
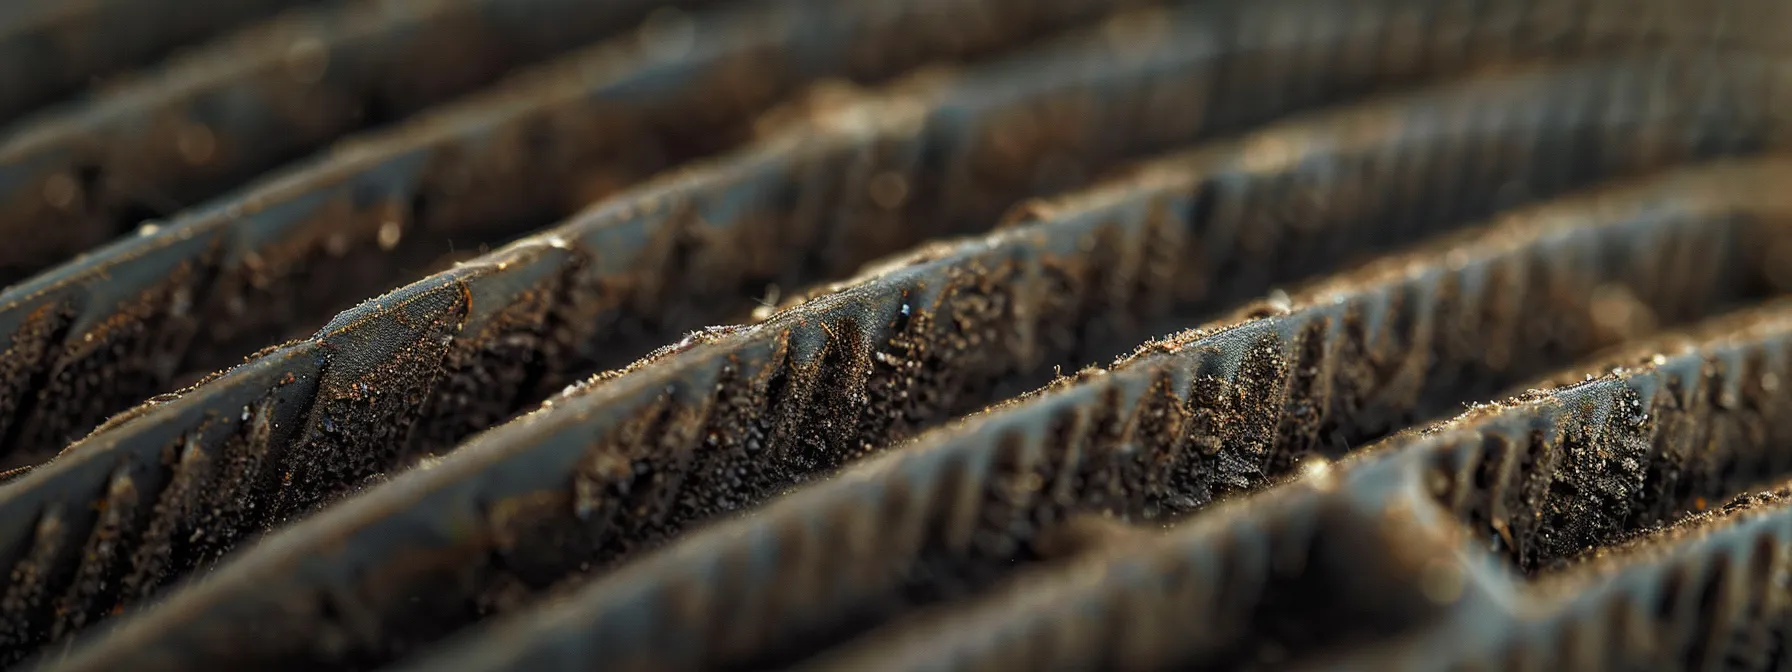
Examine the Air Filters
Dirty or clogged air filters can significantly impact a heating system‘s performance, often leading to issues such as the heat not kicking on in the house. Homeowners should conduct a thorough inspection to identify any blockage and understand the importance of maintaining clean filters for optimal efficiency. This section covers how to replace or clean filters and highlights the connection between air filter condition and the overall safety of the heating system, including potential hazards related to gas supply and condenser function.
Identify Dirty or Clogged Filters
Identifying dirty or clogged air filters is a crucial step in troubleshooting why a heater may not be turning on. Blocked filters can significantly restrict airflow, leading to inadequate heating performance and potential damage to the system. Homeowners should regularly inspect the intake area for any buildup of dust and debris, as this can hinder the heating process and increase the strain on the HVAC system, potentially impacting the efficiency of components like the fireplace or refrigerant lines.
Learn How to Replace or Clean Filters
To effectively maintain electric heating systems, homeowners should regularly replace or clean air filters, as clogged filters can impede airflow and cause heating issues. First, locate the air filter in the system, which is typically found near the return air duct; if it appears dirty or obstructed, it’s essential to replace it with a new one or thoroughly clean it for optimal performance. This proactive measure not only enhances heating efficiency but also helps prevent potential leaks in the ducts and ensures that no dust or debris interferes with the hose and wiring, supporting better overall air conditioning and heating operation.
Understand How Filters Affect Heating Efficiency
Understanding how filters affect heating efficiency is essential for maintaining performance in a space heater or an HVAC system. Dirty or clogged filters restrict airflow, causing the system to work harder and potentially leading to wear and tear on vital components. Regular filter maintenance not only enhances the operation and efficiency of the heater but also helps extend its warranty by preventing damage caused by overheating or inadequate circulation:
- Identify dirty or clogged filters.
- Learn how to replace or clean filters.
- Understand how filters impact overall heating efficiency.
After ensuring the air filters are clean, turn your attention to the pilot light or ignition system. A steady flame is crucial for your system’s efficiency, and its presence can signal whether more in-depth issues await.
Assess the Pilot Light or Ignition System
Assessing the pilot light or ignition system is crucial when a heater fails to turn on. Homeowners should first check if the pilot light is lit and safely relight it if necessary. Troubleshooting electronic ignition issues is also key, as well as identifying signs of a faulty thermocouple. Attention to these aspects can help restore heating functionality and improve overall HVAC services in the DFW area.
Check if the Pilot Light Is Lit
When a heater fails to turn on, one of the first steps homeowners should take is to check if the pilot light is lit. If the pilot light is out, the gas supply to the heating system is interrupted, preventing it from operating. Restoring the pilot light might involve following specific instructions provided by the manufacturer’s manual, which often includes steps for safely reigniting it.
| Action | Details |
|---|---|
| Check Pilot Light | Verify if the pilot light is illuminated to ensure the gas is flowing. |
| Ignite Pilot Light | Follow the safe procedure from the manufacturer’s manual to relight the pilot if necessary. |
| Inspect for Issues | If the pilot light repeatedly goes out, consider potential drafts or faults in the thermocouple. |
Safely Relight the Pilot Light if It's Out
When the pilot light goes out, safely relighting it is essential to restore heat to the home. Homeowners should first consult the manufacturer’s instructions, as these provide precise steps tailored to the specific model. After ensuring that gas is flowing to the unit, they can use a long lighter or match to reignite the pilot light while pressing the reset button, if applicable. If the pilot light frequently goes out after being relit, it may indicate an issue with the thermocouple or drafts affecting the flame, which should be addressed by a qualified HVAC professional to avoid further complications.
Troubleshoot Electronic Ignition Issues
Troubleshooting electronic ignition issues is essential for homeowners whose heaters are not turning on. If the heating system utilizes electronic ignition, it may fail to light due to faulty components or incorrect settings. Inspecting for issues like a malfunctioning ignition module or a blocked gas line can help reveal the root cause of the problem, allowing for necessary repairs that restore heating functionality.
| Action | Details |
|---|---|
| Check Ignition Module | Inspect the ignition module for any signs of wear or damage that may prevent it from working correctly. |
| Inspect Gas Line | Ensure the gas line is clear and unobstructed to allow proper gas flow to the ignition system. |
| Test for Voltage | Use a multimeter to check for the correct voltage supply to the ignition system. |
Look for Signs of a Faulty Thermocouple
Signs of a faulty thermocouple include a pilot light that frequently goes out or fails to ignite entirely. Homeowners should monitor the pilot light’s stability; if it flickers or extinguishes, this can indicate issues with the thermocouple, which serves as a safety device that monitors the gas flow. Addressing these symptoms quickly is vital, as a malfunctioning thermocouple can prevent the heating system from operating safely and efficiently, potentially leading to more significant issues that necessitate professional repairs.
Next, the technician must confirm the gas or fuel supply. Without it, the system cannot bring warmth to the home, and the truth of the matter lies in the flow.
Verify the Gas or Fuel Supply
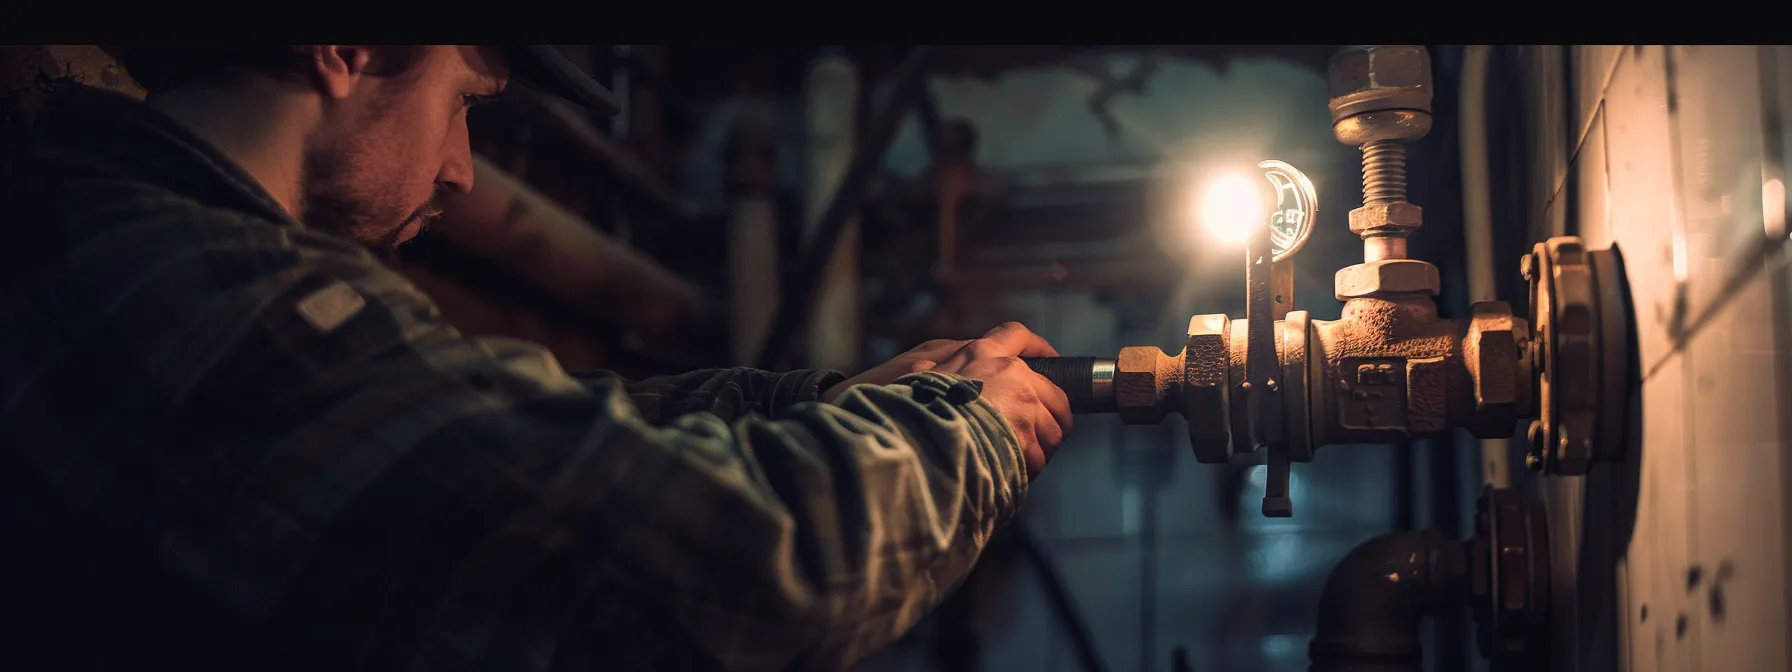
Ensuring that the gas or fuel supply is active is essential when a heater is not turning on. Homeowners should first check that the gas valve is open and inspect for any blockages in the gas line. For fuel-based heaters, confirming adequate oil or propane levels is necessary. Additionally, addressing safety concerns related to the fuel supply will help maintain a safe environment while troubleshooting the heating system.
Ensure the Gas Valve Is Open
To address issues with a heater not turning on, homeowners must first ensure that the gas valve is open. A closed gas valve will prevent the gas from flowing to the furnace, rendering it inoperable. This simple check can often resolve heating issues and enhance the overall efficiency of the system, ensuring that the home remains warm during colder months:
| Action | Details |
|---|---|
| Check Gas Valve | Ensure the gas valve is in the open position for proper gas flow. |
| Inspect Gas Line | Look for any blockages in the gas line that may impede flow. |
| Confirm Valve Condition | Ensure there are no signs of wear or damage on the gas valve. |
Check for Gas Line Blockages
Checking for gas line blockages is an important step in diagnosing why a heater may not be functioning. A blockage in the gas line can prevent gas from reaching the heating system, effectively rendering it inoperable. If homeowners suspect a blockage, they should inspect the gas line for any visible obstructions and consider scheduling a professional inspection to clear the line and ensure safe operation, as any gas flow issues can lead to further heating failures.
Confirm Oil or Propane Levels for Fuel-Based Heaters
To ensure that fuel-based heaters operate effectively, homeowners must confirm that there are adequate oil or propane levels. A low supply of fuel can hinder the heater’s performance, often preventing it from igniting entirely. Regularly checking fuel levels can prevent discomfort during cold weather and potential service interruptions:
| Action | Details |
|---|---|
| Check Fuel Gauge | Inspect the fuel gauge on the tank to verify the current levels of propane or oil. |
| Order Fuel | If levels are low, schedule a delivery to ensure uninterrupted heating service. |
| Monitor Usage | Keep track of fuel consumption to anticipate needs and avoid running out during cold spells. |
Address Safety Concerns With Fuel Supply
Addressing safety concerns with the fuel supply is critical for homeowners encountering heater issues. It is essential to inspect the area around the gas lines for any leaks or damage, as gas leaks can pose serious risks. Homeowners should also ensure that proper ventilation is maintained when using fuel-based heating systems, as inadequate airflow can lead to hazardous conditions. Recognizing these safety measures helps prevent accidents while ensuring the heating system operates efficiently and effectively.
Once the gas or fuel supply is confirmed, the focus shifts to the heart of the system. Inspecting the mechanical components offers crucial insights into performance and reliability.
Address Mechanical Components
When a heater fails to turn on, addressing mechanical components is essential for identifying potential issues. Homeowners should listen for unusual noises that could indicate malfunctioning parts. Inspecting the blower motor and belt is also crucial, as well as checking for blocked or leaky air ducts that compromise airflow. Finally, cleaning vents and registers of debris ensures optimal performance and efficiency.
Listen for Unusual Noises From the Heater
Listening for unusual noises from the heater can provide valuable insights into its mechanical condition. Common sounds, such as grinding, buzzing, or rattling, may indicate issues like a malfunctioning blower motor, worn-out belts, or loose components that require immediate attention. Addressing these noises promptly can prevent more significant problems and ensure the heating system operates efficiently, keeping the home warm when needed:
- Identify any abnormal sounds when the heater operates.
- Determine whether the noises could indicate worn or damaged parts.
- Consult a professional if unusual noises persist to avoid further complications.
Inspect the Blower Motor and Belt
Inspecting the blower motor and belt is a critical step when a heater does not turn on. The blower motor is responsible for circulating warm air throughout the home, and any malfunctions can cease proper operation. Homeowners should check for signs of wear on the belt, ensuring it is not frayed or broken, as this could prevent the motor from functioning effectively and hinder overall heating performance.
Look for Blocked or Leaky Air Ducts
Blocked or leaky air ducts can severely impede the performance of a heating system, causing inefficiencies and discomfort in the home. Homeowners should routinely inspect their ductwork for any obstructions or leaks, as these issues can prevent warm air from circulating properly. Simple maintenance steps, such as sealing visible gaps and ensuring ducts are free from debris, can significantly improve the heater’s functionality and overall efficiency.
| Action | Details |
|---|---|
| Inspect Ducts | Check ductwork for blockages or visible leaks to ensure optimal airflow. |
| Seal Leaks | Use appropriate materials to seal any identified leaks in the ductwork. |
| Clear Blockages | Remove any debris or obstruction that may hinder airflow. |
Clean Vents and Registers of Debris
Cleaning vents and registers of debris is a vital step in ensuring a heater operates efficiently. Frequently, dust, pet hair, and other obstructions can accumulate, preventing warm air from circulating properly throughout the home. Homeowners should regularly inspect and clean these areas to improve airflow, promote better heating performance, and enhance overall comfort during colder months.
Conclusion
When a heater fails to turn on, timely troubleshooting can save homeowners from discomfort and costly repairs. Key actions include checking thermostat settings, inspecting the power source, and ensuring proper fuel supply. Regular maintenance of components like air filters and ductwork enhances heater efficiency and longevity. By following these practical steps, homeowners can quickly address heating issues and maintain a warm, comfortable home throughout the colder months.

