

Table Of Contents:
Are you frustrated because your heater won’t start when you need it most? Many homeowners face this issue, which can lead to uncomfortable temperatures and potential water damage from pipes freezing. In this post, you’ll learn essential techniques for fixing a non-starting heater, including initial troubleshooting steps and analyzing fuel supply problems. By understanding these key areas, you can solve common HVAC issues and get your home warm again. Let’s dive in and tackle that heating repair together! Check out more at newrisehvac.com.
Key Takeaways
- Regular maintenance can prevent most issues and keep your heater running efficiently
- Always check power supply and circuit breakers when your heater doesn’t start
- Inspect fuel supply and ignition system to address common starting problems
- Clean filters and components to enhance airflow and heater performance
- Seek professional help for complex issues or persistent problems with your heating system
Essential Techniques for Fixing a Non-Starting Heater
When your heater refuses to start, it can be frustrating. Let’s break down some common heater issues you might face, such as contamination or problems with the flame. You’ll learn how simple techniques, like using a vacuum, can help clear away debris and get your system back on track. Plus, we’ll discuss when it’s time to call for HVAC services, such as newrisehvac.com.
Understanding Common Heater Issues
Your heater can face a variety of issues that prevent it from starting, and understanding these common problems is key to troubleshooting. One reason for a heater to fail is a power outage that impacts all electrical appliances, including your heating system. It’s a good idea to check your home’s power supply before diving into more complex fixes.
Another common problem is related to the fuel source. If you rely on natural gas, ensure that the supply is uninterrupted. Inspecting your gas line and making sure your heater’s connections are secure can save you time and energy. It’s not uncommon for metal components in your heater to become corroded, which can hinder proper operation as well.
A simple checklist can guide you through basic maintenance tasks and identify issues like dirty filters or blocked vents. If you’ve completed these checks and your heater still won’t start, it may be best to call in an HVAC professional. They have the expertise to diagnose and address more complex problems effectively:
- Check for power outages.
- Inspect natural gas supply.
- Clear any metal debris or blockages.
- Utilize a checklist for maintenance tasks.
- Contact HVAC services for unresolved issues.
You’ve checked the basics, but something still feels off. Let’s walk through the first steps you can take to get your heater back on track.
Initial Troubleshooting Steps to Take
Start your troubleshooting by checking the power supply and circuit breakers. Ensure the voltage is consistent, and reset any tripped breakers to restore power. Next, inspect your thermostat settings to make sure they’re calling for heat and functioning properly. These simple do-it-yourself steps can set you on the path to home improvement and identify potential issues before seeking professional help.
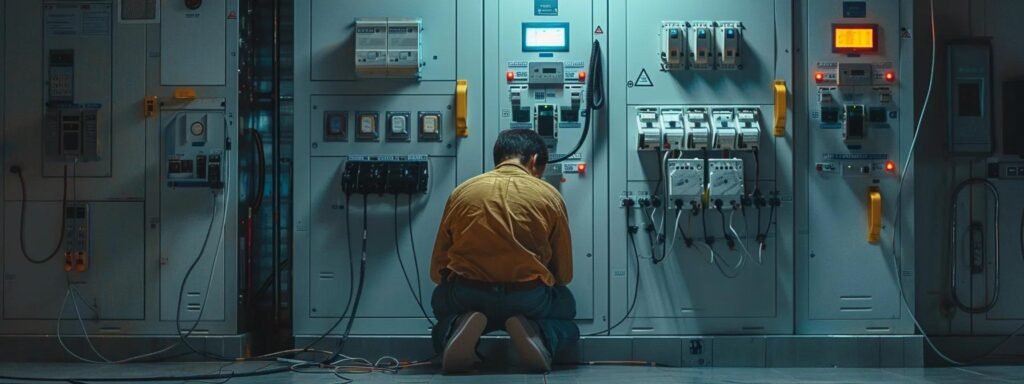
Check the Power Supply and Circuit Breakers
Before anything else, it’s essential to check the power supply and circuit breakers when your heater is not starting. Make sure that the circuit breaker hasn’t tripped, as this can happen easily after a power surge or other electrical issue. If you find a tripped breaker, simply resetting it might restore power to the system, making it ready to function again.
If your heater is still unresponsive after checking the circuit breakers, take a closer look at the heater itself. Make sure that the power switch is on and that your thermostat is set correctly to call for heat. You might need a screwdriver to access certain panels, especially if you’re checking the connections on a boiler or tank heater. Always keep safety in mind when working around electricity.
Once you’ve ensured that the power supply is steady, it’s time to investigate further if problems persist. Look for any visible damages like a cracked heat exchanger, which can impact performance. A combination of these checks can help you determine if it’s time to get professional HVAC services involved:
- Check circuit breakers and reset if tripped.
- Make sure the heater power switch is on.
- Inspect thermostat settings to ensure they are correct.
- Use a screwdriver when necessary for access.
- Look for any visible damages, like a cracked heat exchanger.
Inspect the Thermostat Settings and Functionality
To get your heater up and running, start by inspecting your thermostat settings. Ensure the thermostat is set to “heat” mode and the desired temperature is higher than the current room temperature. If you’re using a programmable thermostat, double-check the schedule to make sure it’s set correctly and hasn’t been overridden by another setting.
Next up, listen for any unusual noise when you adjust the thermostat. A functioning compressor should have a steady sound, but if it’s producing strange noises or humming erratically, there could be a mechanical issue. Sometimes, dust and debris can accumulate around the thermostat, interfering with its functionality, so don’t forget to clean it gently—compressed air can be helpful here!
If the thermostat still isn’t responding, it may be time to look at the batteries if it’s battery-operated. Weak batteries can cause the thermostat to malfunction, so replacing them might solve the problem. If you’ve checked the settings and batteries without success, you might want to consider calling an HVAC professional to take a closer look at your system:
| Steps for Inspecting Thermostat | Action Items |
|---|---|
| Check thermostat settings | Ensure it’s set to “heat” and the temperature is high enough. |
| Listen for noises | Check for unusual sounds from the compressor. |
| Clean thermostat | Remove dust and debris with compressed air. |
| Inspect batteries | Replace them if necessary for battery-operated models. |
Even after troubleshooting the basics, something might still be wrong. Let’s look deeper into the fuel supply, as it may hold the answer to your heating concerns.
Analyzing Fuel Supply Problems
Start by ensuring your gas supply is open and functional, as any disruption can prevent your heater from igniting properly. If you have an oil-fired heater, verify your oil levels to avoid running out of fuel. For those using propane, check your tank levels to ensure you have enough for effective heating. Each of these checks is crucial for maintaining proper airflow and keeping your combustion chamber operating efficiently.
Ensure Gas Supply Is Open and Functional
Checking your gas supply is vital when your heater isn’t starting. First, ensure that the gas valve is fully open. If it’s closed, that could be the reason for the heating failure. A quick visual inspection is all you need, and remember, safety first! If you suspect a leak or have questions about the gas connection, it’s smart to seek help from an HVAC professional.
Next, verify that there are no interruptions in the gas line. You might want to use a multimeter to check for electrical issues that could be affecting the gas equipment, like gas-powered humidifiers or pumps. If everything checks out and you still have issues, consider looking for dirt or blockages in the line that might restrict the flow of gas.
Finally, keeping your heating system well-maintained is essential. Regular lubrication of moving parts can prevent wear and tear that might impact gas flow. Also, schedule annual inspections to ensure your heater and fuel supply components are functioning efficiently. Addressing these potential fuel supply problems early can save you from bigger headaches later:
- Check that the gas valve is fully open.
- Inspect the gas line for interruptions and blockages.
- Use a multimeter to identify any electrical issues.
- Regularly lubricate moving parts in your heating system.
- Schedule annual inspections to maintain system efficiency.
Verify Oil Levels for Oil-Fired Heaters
When troubleshooting an oil-fired heater, the first step is to check the oil levels. If your machine is running low on fuel, that could be the reason it won’t start. Make sure you have enough oil in the tank to keep everything running smoothly, as a lack of fuel can lead to inefficient heating and increased carbon buildup in the combustion chamber.
Next, it’s important to inspect the oil lines for any leaks or blockages. A damaged gasket or a clogged filter can interrupt the flow of oil, preventing your heater from igniting properly. Regularly checking and replacing these components can save you from costly repairs down the line and ensure your system operates effectively.
Finally, keeping an eye on your oil levels not only prevents starting issues but also safeguards against carbon monoxide buildup. This gas can accumulate if the combustion process isn’t functioning properly, posing health risks to you and your family. Address these concerns early on to maintain a safe and efficient heating system:
- Check oil level in the tank before starting.
- Inspect oil lines for leaks or blockages.
- Replace damaged gaskets and filters regularly.
- Monitor for any signs of carbon monoxide buildup.
Check Propane Tank Levels
Checking your propane tank levels is a crucial step in troubleshooting your furnace. If your heater refuses to start, it could be as simple as running out of fuel. Make it a point to regularly monitor your tank levels, especially during the colder months when you rely on your heating system the most.
In addition to checking the tank, look for any signs of leaks in the propane lines. If you’re noticing any unusual smells or sounds, it’s best to inspect the area carefully. Keeping your furnace well-maintained and ensuring your propane supply is steady can help you avoid more complicated HVAC issues that could arise from neglect.
Don’t forget that proper ventilation is essential too. A low propane level can hinder the efficient burning of fuel, leading to increased exhaust gas production and potentially unsafe conditions in your home. Make regular inspections part of your home maintenance routine to keep your heating system running smoothly.
Fuel supply issues are just one piece of the puzzle. Next, we turn our attention to the ignition system, where sparks fly and engines roar to life.
Examining the Ignition System

Examining the Ignition System
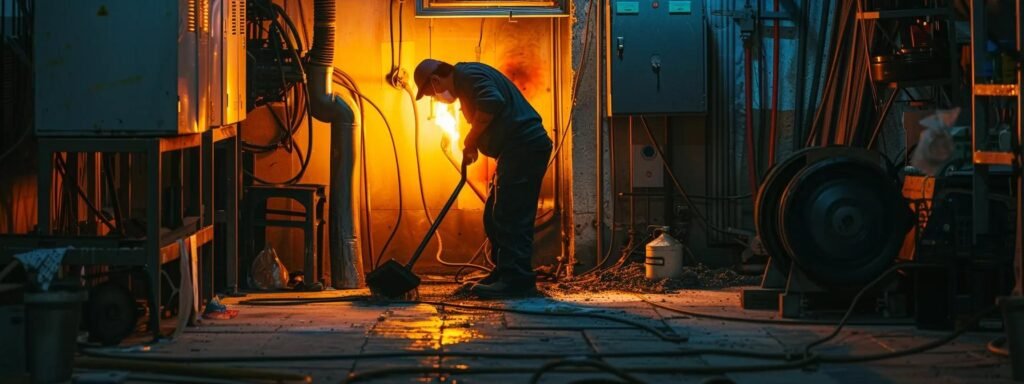
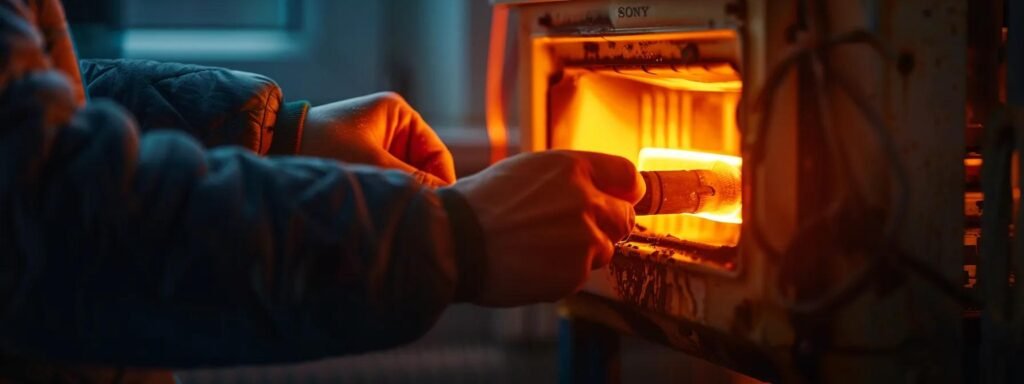
To get your heater running again, you’ll want to look closely at the ignition system. Start by testing the pilot light on gas heaters—it’s a common culprit when your unit won’t start. Next, inspect the hot surface igniter for functionality, as a malfunctioning igniter can lead to issues with the heat exchanger and overall performance. Regular HVAC maintenance can help prolong the longevity of your heating system and prevent mold growth.
Test the Pilot Light for Gas Heaters
When troubleshooting your non-starting heater, checking the pilot light is a crucial first step. If the pilot light is out, your heating system won’t ignite, which prevents proper combustion and heat flow. Simply follow the manufacturer’s instructions to relight the pilot—this usually involves turning off the gas, waiting a few minutes, and then relighting it carefully, ensuring safety throughout the process.
If the pilot light keeps going out after you relight it, there may be an issue with the thermocouple or gas supply. A malfunctioning thermocouple may not recognize the flame, causing the gas valve to shut off. If you suspect this is happening, you might want to reach out for HVAC repair services to address the problem before it leads to more extensive repairs or compromised safety.
Another common issue with gas heaters is debris blocking the pilot light or burner area. Dust and dirt can interfere with the efficiency of your heating system, affecting its ability to generate heat. Regular maintenance, including cleaning the evaporator components where applicable, helps to keep the pilot light functioning optimally and ensures that your heater runs smoothly, providing you with reliable warmth when you need it the most.
Inspect the Hot Surface Igniter for Functionality
Inspecting the hot surface igniter is a crucial step when your heater refuses to start. This component plays a vital role in igniting the fuel. If it’s malfunctioning, you might notice a lack of heat or the heater simply won’t respond. Sometimes, a gas leak can make the situation even more troublesome, so ensure you check for any signs of leaks while you’re at it.
In some cases, high humidity can affect the performance of your heater. If the igniter has accumulated moisture, it may fail to generate the necessary heat to ignite the gas properly. Always make sure the area around your air handler is dry and free of any obstructions, as excess moisture can hinder operation and efficiency.
Before diving deeper into repairs, always check the circuit breaker to rule out electrical issues. Sometimes, a tripped breaker can cause the igniter to remain inactive, complicating the troubleshooting process. If you’ve verified the circuit and found everything in order, then focus on cleaning or replacing the igniter to restore your heater’s functionality and keep your home warm.
The ignition system holds the key to your furnace’s heart. Now, let’s turn our attention to the vital task of cleaning and maintaining its essential parts to keep everything running smoothly.
Cleaning and Maintaining Key Components
To get your heater back in action, it’s important to focus on cleaning and maintaining key components. Start by clearing dust and debris from the burner assembly to ensure proper airflow. Next, clean the flame sensor to enhance the performance of your ignition system. Don’t forget to vacuum the blower and air ducts to eliminate buildup that can interrupt heating efficiency.
Clear Dust and Debris From the Burner Assembly
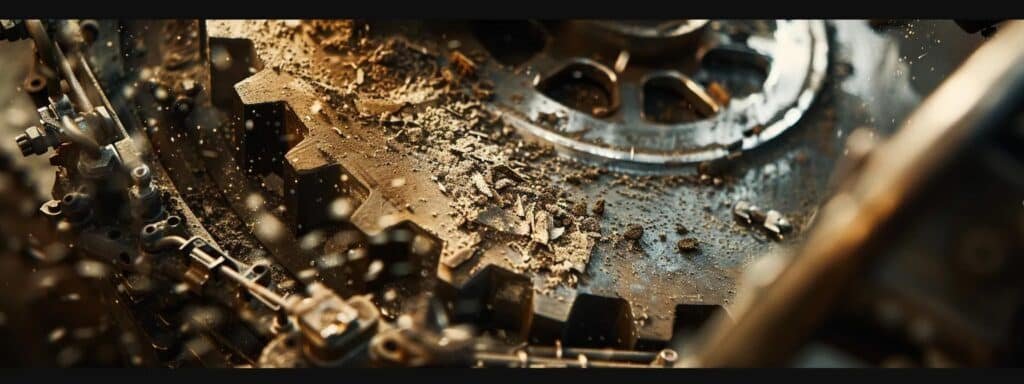
Clearing dust and debris from the burner assembly is crucial for your heater’s performance. Over time, dirt can build up, obstructing airflow and preventing heat from circulating properly. Make sure to power down your system and remove the access panel with a screw to safely clean this area.
Using a wire brush, gently scrub away any dust from the burner assembly. This helps ensure that flames can ignite effectively and reduces the risk of contamination that could lead to harmful monoxide buildup. Keeping this area clean can also help maintain the safety of your heating system, as blocked burners may trigger the limit switch, shutting down your heater.
Once you’ve cleared the burner assembly, it’s a good idea to check the surrounding areas for additional debris or blockages. Ensuring everything is neat and tidy will enhance your heater’s efficiency and longevity. A well-maintained furnace not only keeps your home warm but also promotes a safer environment for you and your family:
| Step | Action |
|---|---|
| Power Down | Switch off the heater before performing any cleaning. |
| Remove Access Panel | Use a screw to take off the panel for access to the burner. |
| Clean Burner Assembly | Use a wire brush to clear dust and debris. |
| Check for Blockages | Inspect for any additional debris in surrounding areas. |
Clean the Flame Sensor for Optimal Performance
Cleaning the flame sensor is a key step when troubleshooting your non-starting heater. If the sensor is dirty or worn, it may not detect the flame, which can prevent your heater from igniting properly. Regular maintenance can help you avoid the frustration of an unresponsive heater, so make it a habit to check this component during your seasonal inspections.
When cleaning the flame sensor, take note of any odors that may indicate a malfunction, especially with propane systems. A buildup of soot or debris can hinder performance and create an inefficient burn, increasing the risk of harmful emissions. By keeping the sensor clean, you ensure better combustion, allowing your system to function effectively and safely.
Don’t forget to check the flue and thermocouple while you’re at it. A clean thermocouple helps to ensure that the sensor can accurately detect heat, enhancing the overall efficiency of your heating system. Investing a little time in these maintenance tasks can significantly improve your heater’s reliability, keeping your home warm all winter long.
Vacuum the Blower and Air Ducts
Vacuuming the blower and air ducts is an important step in maintaining your heater and boosting indoor air quality. Dust and debris can build up over time, causing your heating element to work harder and potentially leading to HVAC problems. By regularly cleaning these components, you enhance heat transfer efficiency, ensuring your heater operates effectively when you need it most.
When you take the time to vacuum the blower and air ducts, you help prevent clogs that can restrict airflow. This simple task can significantly improve your system’s performance, allowing for consistent heating throughout your home. Improved airflow not only reduces the strain on your heating element but can also extend its lifespan, saving you from costly repairs down the line.
Make it a point to incorporate this cleaning into your seasonal maintenance routine. You’ll notice how much better your heater functions with clean ducts and a clear blower. Keeping these areas tidy contributes to a more relaxing home environment, while also addressing any nagging issues related to heat efficiency that could otherwise interrupt your comfort.
The furnace hums softly, but a simple change can bring new life to its performance. Assessing and replacing the furnace filters will keep the air clean and the heat flowing strong.
Assessing and Replacing Furnace Filters

Regularly changing your air filter is critical for maintaining your heater’s efficiency and ensuring the pilot light ignites properly. You’ll want to understand which filter size and type your system requires to minimize risks associated with poor airflow. In the following sections, you’ll find a step-by-step guide for inspecting and replacing filters to keep your heating system running smoothly.
Understand the Importance of Regular Filter Changes
Regularly changing your furnace filter is not just about maintaining airflow; it’s also about optimizing your energy efficiency. When dirt and soot build up in the filter, your heating system has to work harder, which can ultimately lead to higher energy bills. Even if you have a smart thermostat that helps manage your heating settings, a clogged filter can still hinder performance, making it essential to stay on top of filter changes.
Incorporating an energy audit into your home maintenance routine can identify potential areas where inefficiencies arise, including filter issues. If your heating system is struggling to distribute warm air, it may be as simple as replacing a dirty filter. Ensuring that your system has clean air pathways will help prevent larger problems down the line, such as blown fuses or other electrical issues stemming from overworked components.
Also, consider setting reminders to check or replace your filter every couple of months, or whenever you notice your heater acting up. This proactive approach can save you from the frustration of a non-starting heater while extending the life of your equipment. A little attention to your filters goes a long way in keeping your home warm and comfortable, making your heater efficient and reliable throughout the colder months.
Identify the Right Filter Size and Type
Choosing the right filter size and type for your heater is essential for effective operation. A filter that doesn’t fit properly can cause airflow issues, leading to system stress and potential hazards down the line. It’s a good idea to check your system’s documentation or the existing filter for sizing details; you want to ensure a snug fit for optimal ventilation.
Filters come in various types, including HEPA, pleated, and fiberglass, each designed for specific needs. For instance, pleated filters catch more dirt and dust, making them a solid choice if you have pets or allergies. Don’t forget to consider how easy it is to clean or replace the filter, as that plays a big role in routine maintenance and can even save on furnace repair costs.
Once you know the right size and type, regularly changing or cleaning your filter is a game-changer. You can use something as simple as vinegar and a brush to clean reusable filters, ensuring they remain efficient. By keeping your filter in top shape, you enhance your heater’s performance, making it more reliable during the colder months:
| Filter Type | Benefits |
|---|---|
| HEPA | Captures small particles; great for allergies. |
| Pleated | Increased dust-catching; ideal for homes with pets. |
| Fiberglass | Budget-friendly; easy to replace. |
Step-by-Step Guide to Replacing Filters
Replacing your furnace filter is a straightforward task that can dramatically improve your heater’s efficiency. Start by turning off your heating system to ensure safety. Grab a flashlight so you can see clearly inside the filter compartment. If you’re unsure where the filter is located, check your system’s manual or look for a panel near the blower. Knowing the right type of filter to use—such as HEPA or pleated—will make the process smoother.
Next, carefully remove the old filter from its slot. Pay attention to the airflow direction indicated on the filter’s frame; inserting it incorrectly can affect airflow pressure, causing your heater to work harder and potentially leading to more serious issues. If your system runs on oil, ensure the filter change aligns with your maintenance schedule to keep things running well. Regular filter replacements contribute to a longer lifespan for your heating system.
Once you’ve installed the new filter, check that it fits snugly. This ensures that the air can flow properly without leaks, which keeps your heater working efficiently. Turn your system back on and take a moment to feel the airflow; it should be steady and warm. By making filter changes a routine part of your maintenance, you’ll maintain better air quality in your home and reduce the likelihood of a non-starting heater on those chilly days.
Keeping your furnace filters in shape is key to a warm home. Yet, there are moments when calling a professional can make all the difference.
When to Seek Professional Assistance
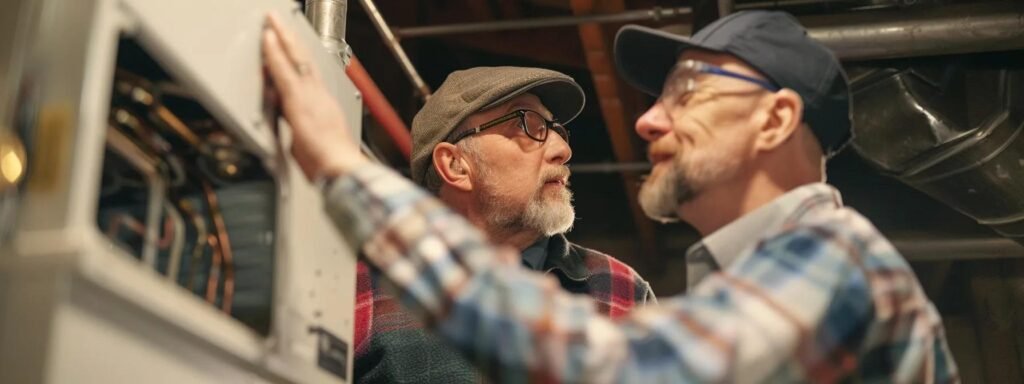
When to Seek Professional Assistance
Recognizing signs beyond DIY repair is crucial for maintaining your heater’s efficiency. If the fixes you’ve tried don’t work or if you notice significant wear and tear, calling in a qualified HVAC technician may be necessary. You’ll want to find professionals who can handle emergency service needs, especially if your warranty is affected. In the following sections, you’ll learn how to identify these signs and find reliable furnace repair technicians.
Recognizing Signs Beyond DIY Repair
Knowing when to bring in a professional can save you time and frustration. For instance, if you’re noticing signs of corrosion on components like the valve or hose of your heating system, it’s a clear indication that internal damage may be occurring. An HVAC technician can diagnose such issues effectively and address the underlying problems before they escalate.
Another situation that warrants a call to an HVAC professional is if your heater continues to show symptoms despite basic troubleshooting. If you’ve already inspected items like the capacitor, thermostat, and fuel supply without success, it might be time to let an expert take a look. They have the tools and experience to pinpoint issues that might not be visible to the average homeowner.
Don’t hesitate to reach out for help if your heating system begins to make unusual noises or exhibits erratic behavior. These can be signs of more complex issues that require technical knowledge to resolve. An experienced technician will not only fix the immediate problem but can also provide maintenance tips to help keep your heater in top shape.
Finding Qualified Furnace Repair Technicians
When you decide it’s time to bring in a furnace repair technician, look for someone with a solid track record and relevant experience. A qualified technician can assess the issue with your heater and provide solutions that are both effective and safe. You want someone familiar with the wiring and electrical components, as this expertise is crucial in troubleshooting electrical problems that might be causing your heater to fail.
Ask for recommendations from friends or family, or check online reviews of local HVAC companies. Take note of their certifications and whether they are insured, as this will give you peace of mind knowing they can handle repairs involving wires and other sensitive components safely. A reliable technician will not only fix the immediate issues but also provide insights on how to maintain your heating system and prevent future problems.
Don’t hesitate to get multiple quotes before making a decision. This allows you to compare services and find the best fit for your needs. An honest technician will explain the repairs needed and offer transparent pricing, helping you feel confident in your choice. Whether it’s related to wires, igniters, or other complex issues, having a skilled technician handle the job can save you time and ensure your heating system runs smoothly in the long run.