Is your heater not turning on when you need it most? This common issue can leave homeowners feeling frustrated and chilly. In this troubleshooting guide, readers will explore common reasons why a heater fails to operate, including problems with the thermostat and power supply. The article will also discuss how to address airflow issues and provide specific tips for troubleshooting gas heaters. By understanding these key points, readers will gain the knowledge needed to identify the problem quickly and determine whether a call to a professional technician is necessary. Don’t let a malfunctioning heater leave you in the cold—find the solution today.
Key Takeaways
- check thermostat settings to ensure it is set to heat for proper operation
- inspect for power supply issues such as tripped circuit breakers or blown fuses
- regularly replace dirty air filters to maintain airflow and system efficiency
- ensure the ignition system is functioning correctly for gas heating systems to work
- call a professional technician for persistent issues or signs of major mechanical problems
Common Reasons Your Heater Isn't Turning On
Several common issues can prevent a furnace from turning on, resulting in uncomfortable, freezing conditions. First, users should check if thermostat settings need adjustment, ensuring the programmable thermostat is set correctly. Interruptions in power supply, tripped circuit breakers, or blown fuses can also disrupt operation. Additionally, a clogged or dirty air filter can hinder air flow, while malfunctions in the ignition system may prevent the unit from starting. Each of these points will be discussed in detail to provide practical solutions.
Thermostat Settings Need Adjustment
If the heater is not turning on, one of the first things to check is the thermostat settings. Users may sometimes find that the thermostat is not set to “Heat,” or it could be programmed for temperatures that do not trigger the limit switch of the heating unit, leading to cold air flowing instead of warm. A simple adjustment to the desired temperature can reactivate the system and eliminate the frustrating lack of heat caused by incorrect settings.
Power Supply Interruptions
Power supply interruptions can significantly impact the performance of a heating system. Homeowners should first inspect their circuit breakers to identify any tripped switches, as these can prevent both the heat pump and air handler from operating effectively. Additionally, blown fuses might also indicate an underlying issue requiring immediate furnace repair, especially if the heating source is powered by propane. Ignoring these disruptions could lead to further complications, including the buildup of soot within the system, increasing the risk of costly repairs in the future.
Tripped Circuit Breakers or Blown Fuses
Tripped circuit breakers or blown fuses are common issues that can prevent a furnace from operating. Homeowners should regularly check the furnace switch and inspect their electrical wiring to ensure continuity in their heating system. If the circuit breaker has tripped, resetting it may restore power to the furnace, including the flame ignition or compressor, allowing the unit to function normally once again.
| Issue | Solution | Note |
|---|---|---|
| Tripped Circuit Breaker | Reset the breaker | Check for underlying issues if it trips again |
| Blown Fuse | Replace the fuse | Consult an HVAC professional for repeated blowouts |
| Faulty Electrical Wiring | Inspect and repair wiring | Safety concerns may require a professional assessment |
Clogged or Dirty Air Filters
Clogged or dirty air filters can significantly hinder a heating system‘s performance, preventing warm air from circulating effectively throughout the home. When filters are not maintained, they can accumulate carbon and debris, leading to increased pressure on the system and possible strain on the power supply or boiler. Regularly checking and replacing these filters is essential for ensuring optimal heating and maintaining efficiency, ultimately avoiding costly repairs and ensuring comfort during cold weather.
Ignition System Malfunctions
Ignition system malfunctions are a key reason a heater may fail to turn on. Issues like a blown fuse or insufficient voltage can prevent the heat pump‘s ignition mechanism from functioning properly, hindering the combustion process essential for generating heat. Homeowners must ensure that the ignition components receive adequate voltage and are free of obstructions to maintain proper ventilation, as these factors directly affect the system’s ability to start.
- Check for blown fuses that may disrupt ignition.
- Ensure sufficient voltage is supplied to the heat pump.
- Inspect ignition components for proper operation.
- Verify that ventilation systems are clear and functional.
Sometimes the problem lies not in the heater itself, but in the thermostat. Let’s take a closer look at how to inspect and adjust it to ensure your home stays warm.
How to Inspect and Adjust Your Thermostat
How to Inspect and Adjust Your Thermostat
Begin by verifying the temperature setting on the thermostat, ensuring it is set to the desired warmth. Next, switch the thermostat to heating mode to initiate the system’s operation. If the thermostat is unresponsive, replacing the batteries may be necessary. Additionally, checking the thermostat‘s location can help ensure accuracy, as improper placement can affect temperature readings and prevent the heater from blowing hot air. Addressing these factors is essential, as they can help resolve electrical issues, ensure the pilot light remains lit, and prevent potential gas leaks.
Verify the Temperature Setting
To ensure that the heater operates as intended, homeowners must verify the temperature setting on their thermostat. An incorrect setting can arise from user error or a faulty thermostat, leading to inadequate heating or no heat at all. It is advisable to set the thermostat higher than the current room temperature to engage the heating system and check if the heating element activates appropriately.
| Action | Description |
|---|---|
| Check Temperature Setting | Ensure the thermostat is set to a higher temperature than the current room temperature. |
| Switch Mode | Verify that the thermostat is set to heating mode, not cooling. |
| Inspect for Faults | Assess the thermostat for faults that may disrupt settings, especially in smart thermostats. |
Switch the Thermostat to Heating Mode
Switching the thermostat to heating mode is a crucial step in ensuring that central heating systems operate effectively. This adjustment activates the heat exchanger, allowing the system to circulate warm air throughout the home. Homeowners should also check that the thermostat‘s sensor is functioning correctly to maintain safety and prevent potential high voltage issues that could disrupt the overall heating performance.
Replace Thermostat Batteries if Necessary
Replacing dead batteries in the thermostat is a simple yet effective step to take when troubleshooting why a heater may stop working. When batteries are low or depleted, the thermostat may fail to communicate with the HVAC system, interrupting the flow of heated air. Additionally, old batteries can allow dust and debris to accumulate within the thermostat, potentially affecting indoor air quality and overall performance. Homeowners should keep spare batteries on hand and regularly check the thermostat‘s functionality to ensure consistent heating during colder months.
Check the Thermostat's Location for Accuracy
Checking the thermostat‘s location is crucial for accurate temperature readings and effective heating. If the thermostat is positioned near drafts, windows, or heat sources, it can lead to incorrect readings and may cause the heat not to kick on in the house when needed. Regular inspection of the thermostat‘s environment will help identify potential hazards, ensuring that the gas supply and the HVAC system operate efficiently without unnecessary interruptions.
Your thermostat is set right. Now, it’s time to ensure the heater has the power it needs to run. Let’s check the heater’s power supply to keep your home warm and comfortable.
Checking the Heater's Power Supply
Checking the heater’s power supply is essential when troubleshooting why it isn’t turning on. First, ensure the heater is plugged in properly to avoid any connectivity issues. Next, inspect the furnace switch, as this can often be overlooked. Homeowners should also reset any tripped breakers and examine the wiring for damage that may disrupt airflow. Each of these factors will be addressed in detail to provide practical solutions.
Ensure the Heater Is Plugged in Properly
Ensuring the heater is plugged in properly is a fundamental step in diagnosing why an electric heating system isn’t functioning. Homeowners should check the outlet and ensure that the wire connecting the heater is secure and free from damage. Any signs of a leak or wear in the cord can contribute to power disruptions, potentially preventing the heater from turning on altogether and necessitating immediate attention to avoid further complications.
Inspect the Furnace Switch
Inspecting the furnace switch is a vital step in determining why the heater isn’t turning on. Homeowners should verify that the switch is turned on, as it controls the power supply to the HVAC system. It is also wise to assess the switch for any signs of wear and tear, which could indicate the need for repair or replacement. Failing to address issues at the furnace switch may lead to unnecessary downtime or complications, especially for space heaters dependent on consistent power.
- Check if the furnace switch is turned on.
- Look for signs of wear and tear.
- Consider the impact of duct obstructions on power flow.
- Evaluate the warranty conditions for repairs or replacements.
Reset Any Tripped Breakers
Resetting any tripped breakers is an essential step in determining why the heater isn’t turning on. Homeowners should locate the electrical panel and check for any breakers that have moved to the “off” position. If a breaker is tripped, simply resetting it can restore power to the HVAC system, allowing the heater to function and maintain the desired room temperature. Neglecting this simple task could lead to further issues with the heating system, especially if air filters are clogged or dirty, which may also require attention to ensure optimal performance.
Examine Wiring for Damage
When examining the wiring for damage, homeowners should first look for any visible signs of wear, fraying, or corrosion on the wires connected to the heating system. Damaged wiring can interrupt the power supply, preventing the heater from functioning properly. If any issues are found, it is advisable to consult a qualified HVAC technician to assess and repair the wiring, ensuring the system operates safely and efficiently.
- Inspect wires for visible damage.
- Look for frayed or corroded connections.
- Consult an HVAC technician for repairs if needed.
After ensuring the heater has power, it’s time to look at what keeps the warm air moving. Dusty filters and blocked vents can stop heat from reaching every corner of your home.
Addressing Airflow Issues With Filters and Vents
Addressing Airflow Issues With Filters and Vents
Dirty air filters and obstructions in vents can significantly hinder a heating system‘s performance. Homeowners should know how to locate and remove dirty air filters, install clean ones correctly, and clear any blockages from vents and ducts. Understanding the impact of blocked airflow on heating efficiency is crucial for maintaining a comfortable and efficient home environment.
Locate and Remove Dirty Air Filters
To troubleshoot airflow issues effectively, homeowners should first locate and remove dirty air filters. Clogged filters restrict airflow, reducing the heater’s efficiency and potentially causing it to shut down. By regularly checking and replacing these filters, homeowners can ensure optimal air circulation, which is vital for their heating system to function properly and maintain a comfortable indoor environment:
| Step | Action | Importance |
|---|---|---|
| Locate Air Filter | Find the air filter compartment, usually near the furnace or air handler. | Ensures proper air intake and system function. |
| Remove Filter | Carefully take out the dirty filter. | Prevents dust and debris from blocking airflow. |
| Replace with Clean Filter | Install a new filter, ensuring the correct orientation. | Maintains optimal heating performance. |
Install Clean Air Filters Correctly
Installing clean air filters correctly is essential for ensuring optimal airflow and efficiency in a heating system. Homeowners should first ensure that the new filter is oriented properly, as filters have arrows indicating the direction of airflow. This simple step not only enhances air circulation but also extends the lifespan of the heating system, preventing costly repairs linked to airflow restrictions caused by improperly installed filters.
Clear Obstructions From Vents and Ducts
Clearing obstructions from vents and ducts is essential for ensuring a heater functions efficiently. Homeowners should regularly inspect their vents for any furniture, dust, or debris that may be blocking airflow. Proper airflow is critical, as blockages can cause the heating system to perform poorly and may even lead to overheating or mechanical failures, ultimately delaying the warmth desired during colder months.
Understand the Impact of Blocked Airflow on Heating Efficiency
Blocked airflow can severely impact heating efficiency by restricting the amount of warm air circulated throughout the home. When vents or ducts become obstructed, either by accumulated dust, furniture, or debris, the furnace struggles to maintain the desired temperature, leading to increased energy consumption and potential strain on the heating system. Homeowners should take steps to regularly check and clear any blockages, as a well-maintained flow of air is vital for ensuring the heater operates effectively and efficiently, ultimately promoting a comfortable living environment:
- Locate air filter compartments for easy access.
- Remove and replace dirty air filters promptly.
- Inspect vents regularly for obstructions.
- Ensure correct installation of air filters.
Airflow problems can hint at deeper issues in your HVAC system. Next, understanding how to troubleshoot gas heaters can keep your home warm and safe.
Troubleshooting Gas Heaters Specifically
Troubleshooting Gas Heaters Specifically
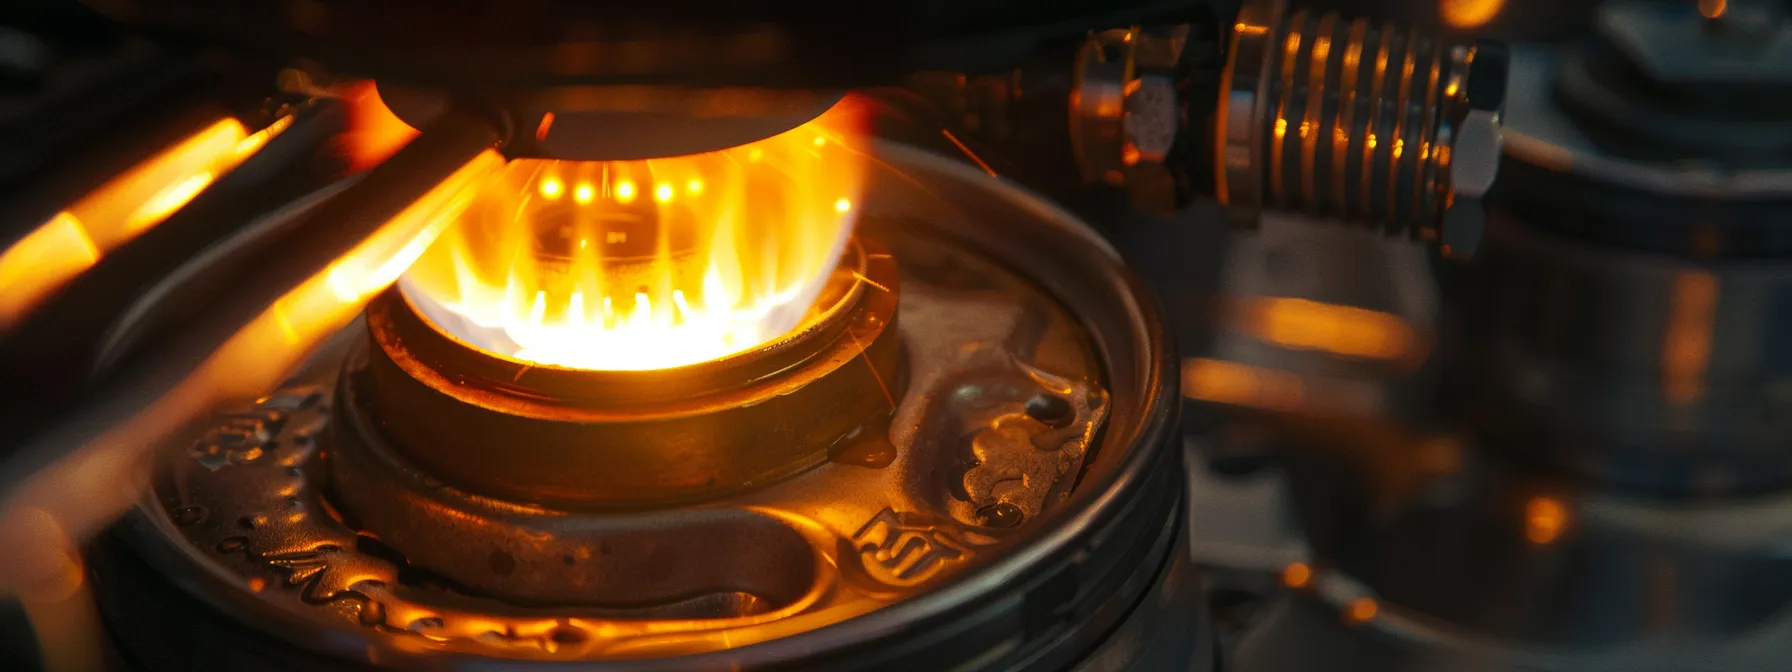
Gas heaters require careful inspection to ensure they operate efficiently. Homeowners should confirm that the gas supply is on, relight the pilot light safely, and inspect the ignition system for proper functionality. Identifying issues with the gas line or valve is also crucial. Each of these steps will provide practical solutions to restore heat effectively.
Confirm the Gas Supply Is On
Confirming that the gas supply is on is a crucial step in troubleshooting gas heaters that are not functioning. Homeowners should locate the gas shut-off valve, typically found near the heater, and ensure it is in the open position. If the valve is closed, restoring the gas supply can often resolve heating issues, allowing the appliance to operate efficiently once more.
Relight the Pilot Light Safely
Relighting the pilot light safely is essential to restoring functionality in gas heaters. Homeowners should begin by turning off the gas supply and waiting a few minutes to allow any accumulated gas to dissipate. Following this, they can locate the pilot light assembly, set the gas valve to “Pilot,” and use a long lighter to ignite the pilot light while pressing down the reset button. This straightforward process ensures a timely return to warmth and comfort in the household.
- Turn off the gas supply.
- Wait a few minutes for gas to dissipate.
- Set the gas valve to “Pilot.”
- Use a long lighter to ignite the pilot light.
- Press and hold the reset button during ignition.
Inspect the Ignition System
Inspecting the ignition system of a gas heater is essential for confirming that it operates as intended. Homeowners should check components like the igniter to ensure they are clean and functioning; any dirt or blockage can prevent the system from igniting properly. Regular maintenance, such as testing ignition functionality, can help avoid heating issues and provide peace of mind during colder months:
| Component | Action | Importance |
|---|---|---|
| Igniter | Check for dirt and functionality. | Ensures proper ignition and heating. |
| Gas Valve | Inspect for proper operation. | Maintains gas flow to the system. |
| Thermocouple | Ensure it is functioning correctly. | Prevents gas leaks and ensures safety. |
Identify Issues With the Gas Line or Valve
Identifying issues with the gas line or valve is imperative when troubleshooting gas heaters that aren’t functioning properly. Homeowners should first check for visible signs of gas leaks, such as a hissing sound or a sulfur-like smell around the gas connections. If the gas valve is closed, opening it may restore gas flow, but if there are persistent issues, consulting a licensed professional is advisable to ensure safety and compliance with local regulations.
Even when troubleshooting gas heaters, some issues remain stubborn. Knowing when to call a professional technician can save time and ensure safety, bringing peace of mind to every homeowner.
Knowing When to Call a Professional Technician
Knowing When to Call a Professional Technician
Homeowners should recognize signs of major mechanical problems, which often indicate a need for professional assistance. Assessing the risks of attempting complex repairs is crucial, as these issues may require specialized knowledge. Finding a certified HVAC professional ensures safety and efficiency, while preparing essential information for the service call can facilitate a smoother repair process.
Recognize Signs of Major Mechanical Problems
Homeowners should be aware of signs that indicate major mechanical problems with their heating systems. This includes unusual noises, such as grinding or rattling, which may suggest loose components or internal damage. Additionally, if the heater frequently cycles on and off or fails to heat rooms adequately, these symptoms may require the expertise of a professional HVAC technician to diagnose and repair underlying issues effectively.
| Signs of Major Mechanical Problems | Potential Issues | Recommended Action |
|---|---|---|
| Unusual noises | Loose components or internal damage | Contact a professional technician for inspection |
| Frequent cycling | Thermostat issues or mechanical failures | Schedule a service call for diagnosis |
| Inadequate heating | Blocked vents or internal faults | Reach out to a qualified HVAC expert for troubleshooting |
Assess the Risks of Attempting Complex Repairs
Attempting complex repairs on a heating system can pose significant risks, especially for those without specialized knowledge. Homeowners should understand that improper handling can lead to safety hazards, including gas leaks or electrical failures. Engaging a certified HVAC technician ensures the job is performed correctly, minimizing risk and ensuring the system operates safely and efficiently.
| Risk Factors | Consequences | Recommended Action |
|---|---|---|
| Improper Repairs | Increased risk of malfunction or system failure | Consult a licensed HVAC professional |
| Gas Leaks | Health hazards and potential explosions | Verify integrity with a skilled technician |
| Electrical Issues | Fire hazards or injuries | Hire a qualified electrician for repairs |
Find a Certified HVAC Professional
Finding a certified HVAC professional is essential when a heater won’t turn on, particularly when troubleshooting issues exceeds a homeowner’s technical expertise. Qualified technicians possess the necessary training and experience to diagnose problems accurately and recommend effective solutions, ensuring the heating system operates safely and efficiently. Homeowners facing persistent heating challenges are encouraged to seek reputable HVAC Services in their area, as certified professionals are equipped to handle complex repairs and maintenance, providing peace of mind during cold weather.
Prepare Information for the Service Call
Preparing information for the service call can significantly enhance the efficiency of a professional technician’s visit when a heater isn’t turning on. Homeowners should document specific symptoms, such as unusual noises or error messages displayed on the thermostat. Providing details about any previous repairs or maintenance can also help the technician diagnose the issue more effectively, ensuring a more efficient and speedy resolution to the heating problem.
Conclusion
Understanding how to troubleshoot a heater that isn’t turning on is essential for maintaining a comfortable home during cold weather. Homeowners can quickly identify issues such as thermostat settings, power supply interruptions, or airflow problems that may be hindering their heating system‘s performance. Addressing these common concerns can prevent costly repairs and ensure efficient heating. By following the guidance provided, homeowners can take proactive steps to restore warmth and comfort without unnecessary delays.

